Keeping your engine bay clean isn’t just about aesthetics—it helps prevent dirt buildup, improves cooling efficiency, and makes it easier to spot leaks or worn components. Over time, dust, grime, and oil residues accumulate under the hood, potentially leading to corrosion, overheating, and electrical issues.
If you’ve never cleaned your engine bay before, it might seem like a daunting task. However, with the right approach and precautions, you can safely remove dirt and debris without causing damage to sensitive components. Here’s the best way to properly clean your engine bay and what you need to know before starting.
Is It Safe to Wash Your Engine Bay
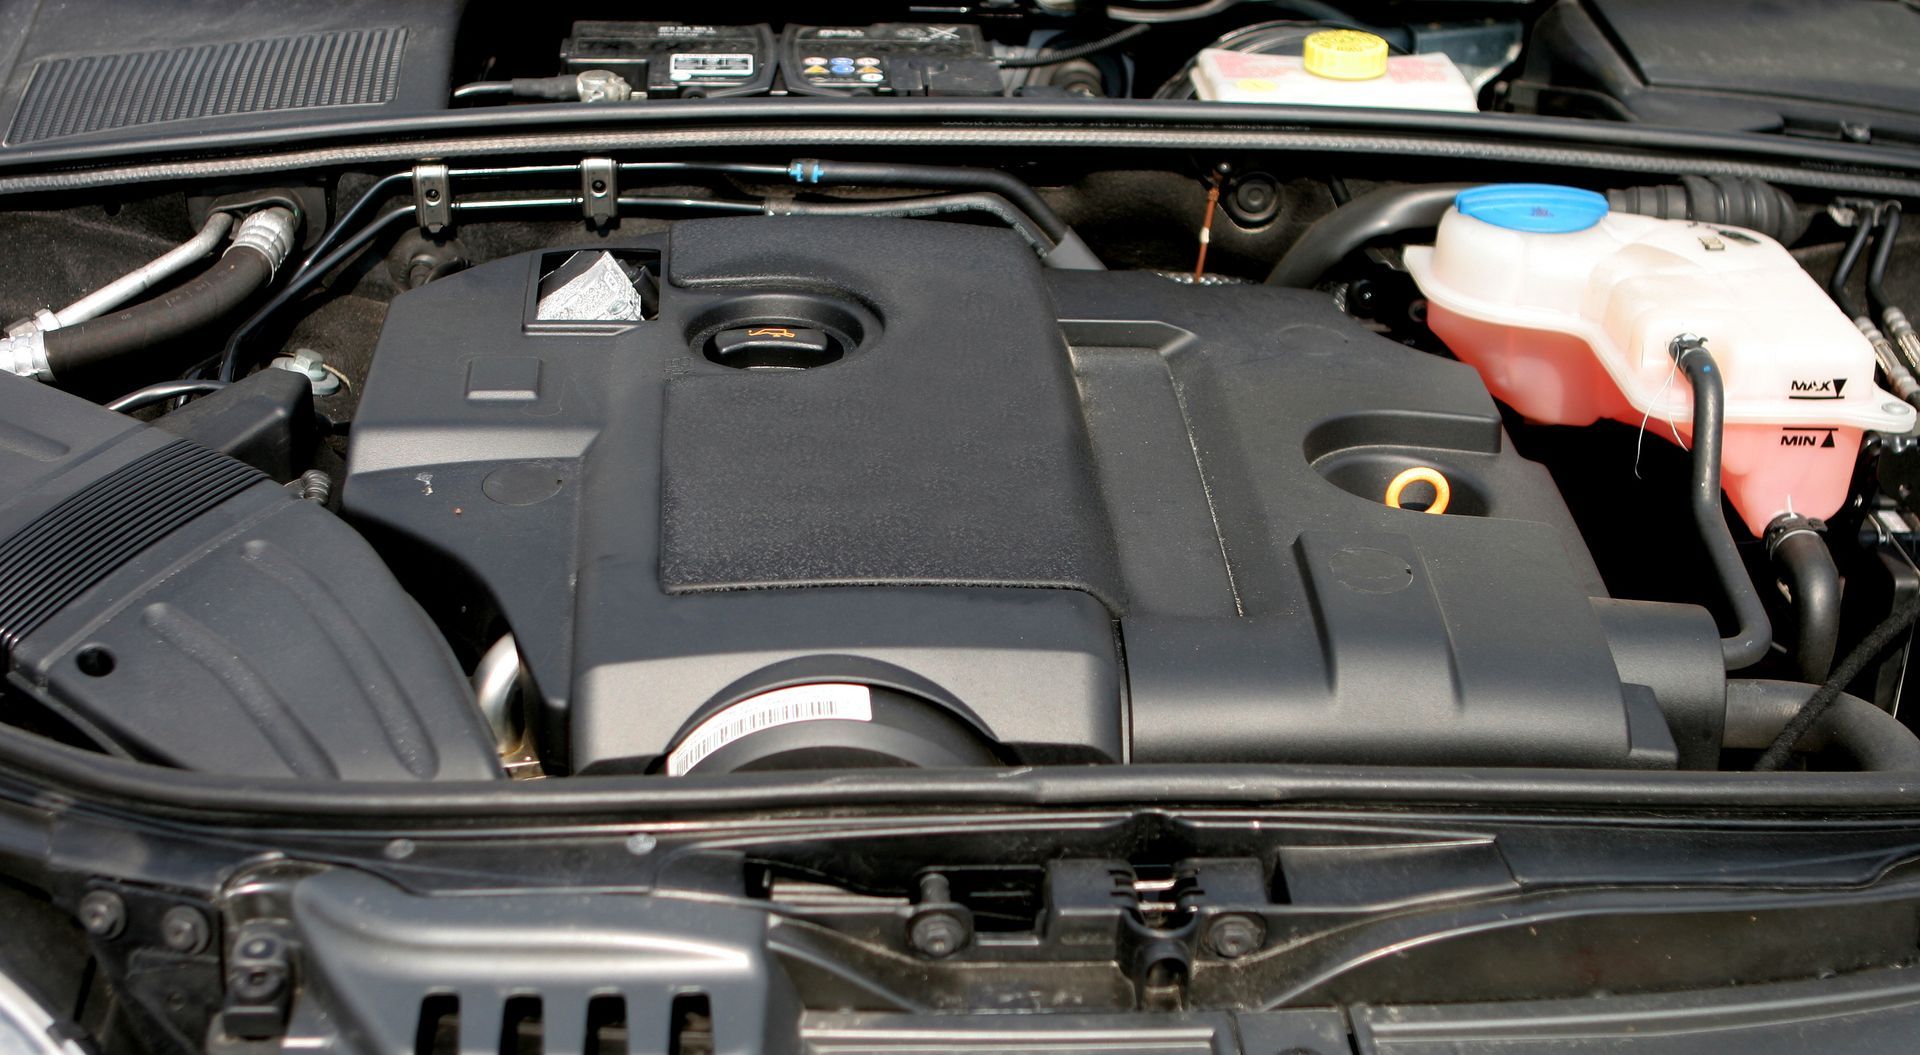
Yes, cleaning your engine bay is safe as long as you take the proper precautions. Modern engines have water-resistant components, but certain parts—such as the battery, alternator, and electronic connections—should be protected from excessive moisture. Using high-pressure water directly on your engine can force water into sensitive electrical parts, which is why it’s important to clean with low pressure and minimal moisture exposure.
Steps to Safely Clean Your Engine Bay
Step 1: Gather the Right Cleaning Supplies
Before getting started, make sure you have:
- A gentle degreaser or all-purpose cleaner
- A soft-bristle brush or detailing brush
- A microfiber cloth or towel
- A hose with a spray nozzle (low pressure) or a spray bottle
- Plastic bags or aluminum foil to cover sensitive components
- Rubber gloves (optional but helpful when handling grease)
- Battery terminal wrench (to safely disconnect the battery)
Step 2: Let the Engine Cool Down
Never clean your engine bay while it’s hot. Washing a hot engine can cause cracks due to rapid temperature changes and make degreasers evaporate too quickly, reducing their effectiveness. Let your car sit for at least 30 minutes before starting.
Step 3: Disconnect and Remove the Battery
Since you’ll be working with water and cleaning chemicals, disconnecting and removing the battery is essential to prevent electrical damage.
- Locate the battery under the hood.
- Use a battery terminal wrench to disconnect the negative (-) terminal first, then disconnect the positive (+) terminal.
- Carefully lift the battery out and place it in a dry, safe area away from water and direct sunlight.
- This step helps prevent short circuits, electrical damage, or accidental sparking during the cleaning process.
Step 4: Cover Sensitive Components
To prevent electrical damage, use plastic bags or aluminum foil to cover:
- The alternator
- The air intake
- Any exposed electrical connections
While most engine components are designed to handle some moisture, minimizing water exposure to electrical parts helps prevent future issues.
Step 5: Apply Degreaser and Let It Sit
Spray a degreaser or all-purpose cleaner on dirty areas, focusing on greasy spots and accumulated grime. Avoid oversaturating wires and electrical parts. Let the cleaner sit for 5 to 10 minutes to break down dirt and oil.
For stubborn grease, use a soft brush to loosen buildup. Be gentle to avoid damaging hoses or delicate components.
Step 6: Rinse Gently
If using a hose, set it to low pressure and rinse the engine bay lightly. Avoid using a high-pressure sprayer, as it can force water into electrical connectors. If you don’t have a hose, a damp microfiber cloth can help wipe away residue.
Step 7: Let the Engine Bay Dry Completely
After rinsing, thorough drying is essential before reconnecting the battery or starting the car.
- Use a dry microfiber cloth to soak up excess water.
- Let the engine bay air dry for at least 2 hours, or if possible, leave it to dry for an entire day before reconnecting the battery.
- Use compressed air or a fan to speed up the drying process if needed.
Ensuring the engine is completely dry before starting the car helps prevent electrical shorts and corrosion.
Step 8: Reinstall and Reconnect the Battery
Once the engine bay is completely dry, you can safely reinstall the battery.
- Place the battery back into its position.
- Connect the positive (+) terminal first, then reconnect the negative (-) terminal.
- Tighten the connections securely and ensure the battery is properly seated.
- Reconnecting the battery in the correct order prevents sparking and voltage fluctuations, which could damage electronic systems.
How Often Should You Clean Your Engine Bay
Cleaning the engine bay every year or every two years is enough to prevent excessive buildup. However, if you drive in dusty conditions, near salt water, or in wet climates, more frequent cleaning can help prevent grime-related issues.
When to Get a Professional Inspection
While regular cleaning helps keep your engine in good shape, it’s also important to check for:
- Oil leaks that could indicate gasket or seal problems.
- Corrosion on battery terminals, which can affect performance.
- Cracked or worn hoses, which may lead to leaks or overheating.
If you notice any of these issues, a professional service will help prevent larger engine problems in the future.
Keep Your Car Running with Rolf’s Import Auto Service
A clean engine bay makes it easier to spot potential issues and keeps your vehicle running efficiently. Whether you need routine maintenance, diagnostics, or engine repairs, Rolf’s Import Auto Service is here to help. With locations in Lakewood, Fife, and Tacoma, WA, our expert technicians specialize in import vehicles and high-quality service to keep your car performing at its best.
From diagnostics to repairs, trust
Rolf’s Import Auto Service for all your vehicle’s needs. Schedule your service appointment today!

